How to install the CleanTalk Anti-Spam Plugin in WordPress
Video guide — Anti-Spam Plugin Installation in WordPress:
1. In the WordPress Admin Panel go to the "Plugins" section and press the button "Add New".

2. Find the plugin "Spam Protection by CleanTalk" by typing the keyword "cleantalk". Press the button "Install Now" near the plugin's name.

3. Once the plugin is installed, press the Activate button on the same page.

OR
In the "Plugins" section find the installed plugin "Anti-Spam by CleanTalk" and press the string "Activate" under its name.

4. After activation, the Setup Wizard will open automatically. Follow the wizard's instructions on the screen to connect your website to CleanTalk Cloud:
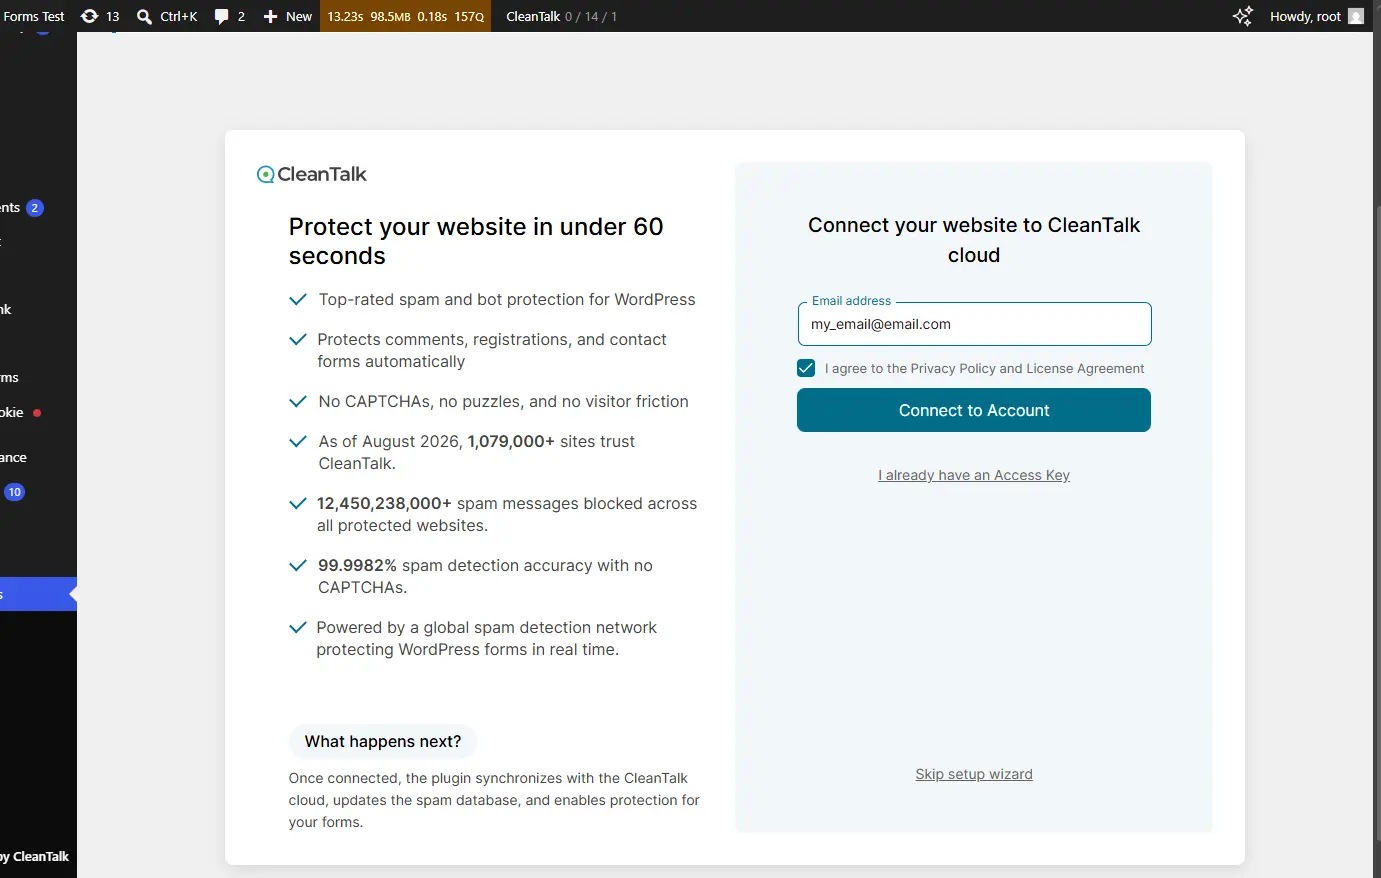
Enter your email address, accept the Privacy Policy and License Agreement, and click Connect to Account.
- If you already have an account, your website will be added to it, a new access key will be generated for this specific site, and the plugin will be automatically configured with this key.
Note: To automatically receive a access key through the wizard, you must enable Adding new sites without authorization in your CleanTalk profile settings:

- If you don't have an account yet, a new one will be created for you, your website will be added, and a fresh access key will be generated and assigned automatically.
In both cases, the correct access key will be placed into the plugin, so you don't need to manually copy or paste it.
If you already know your access key. Click "I already have an Access Key", paste your key, and click "Connect to CleanTalk".
You can find out where to locate your Access Key and how to work with it here.
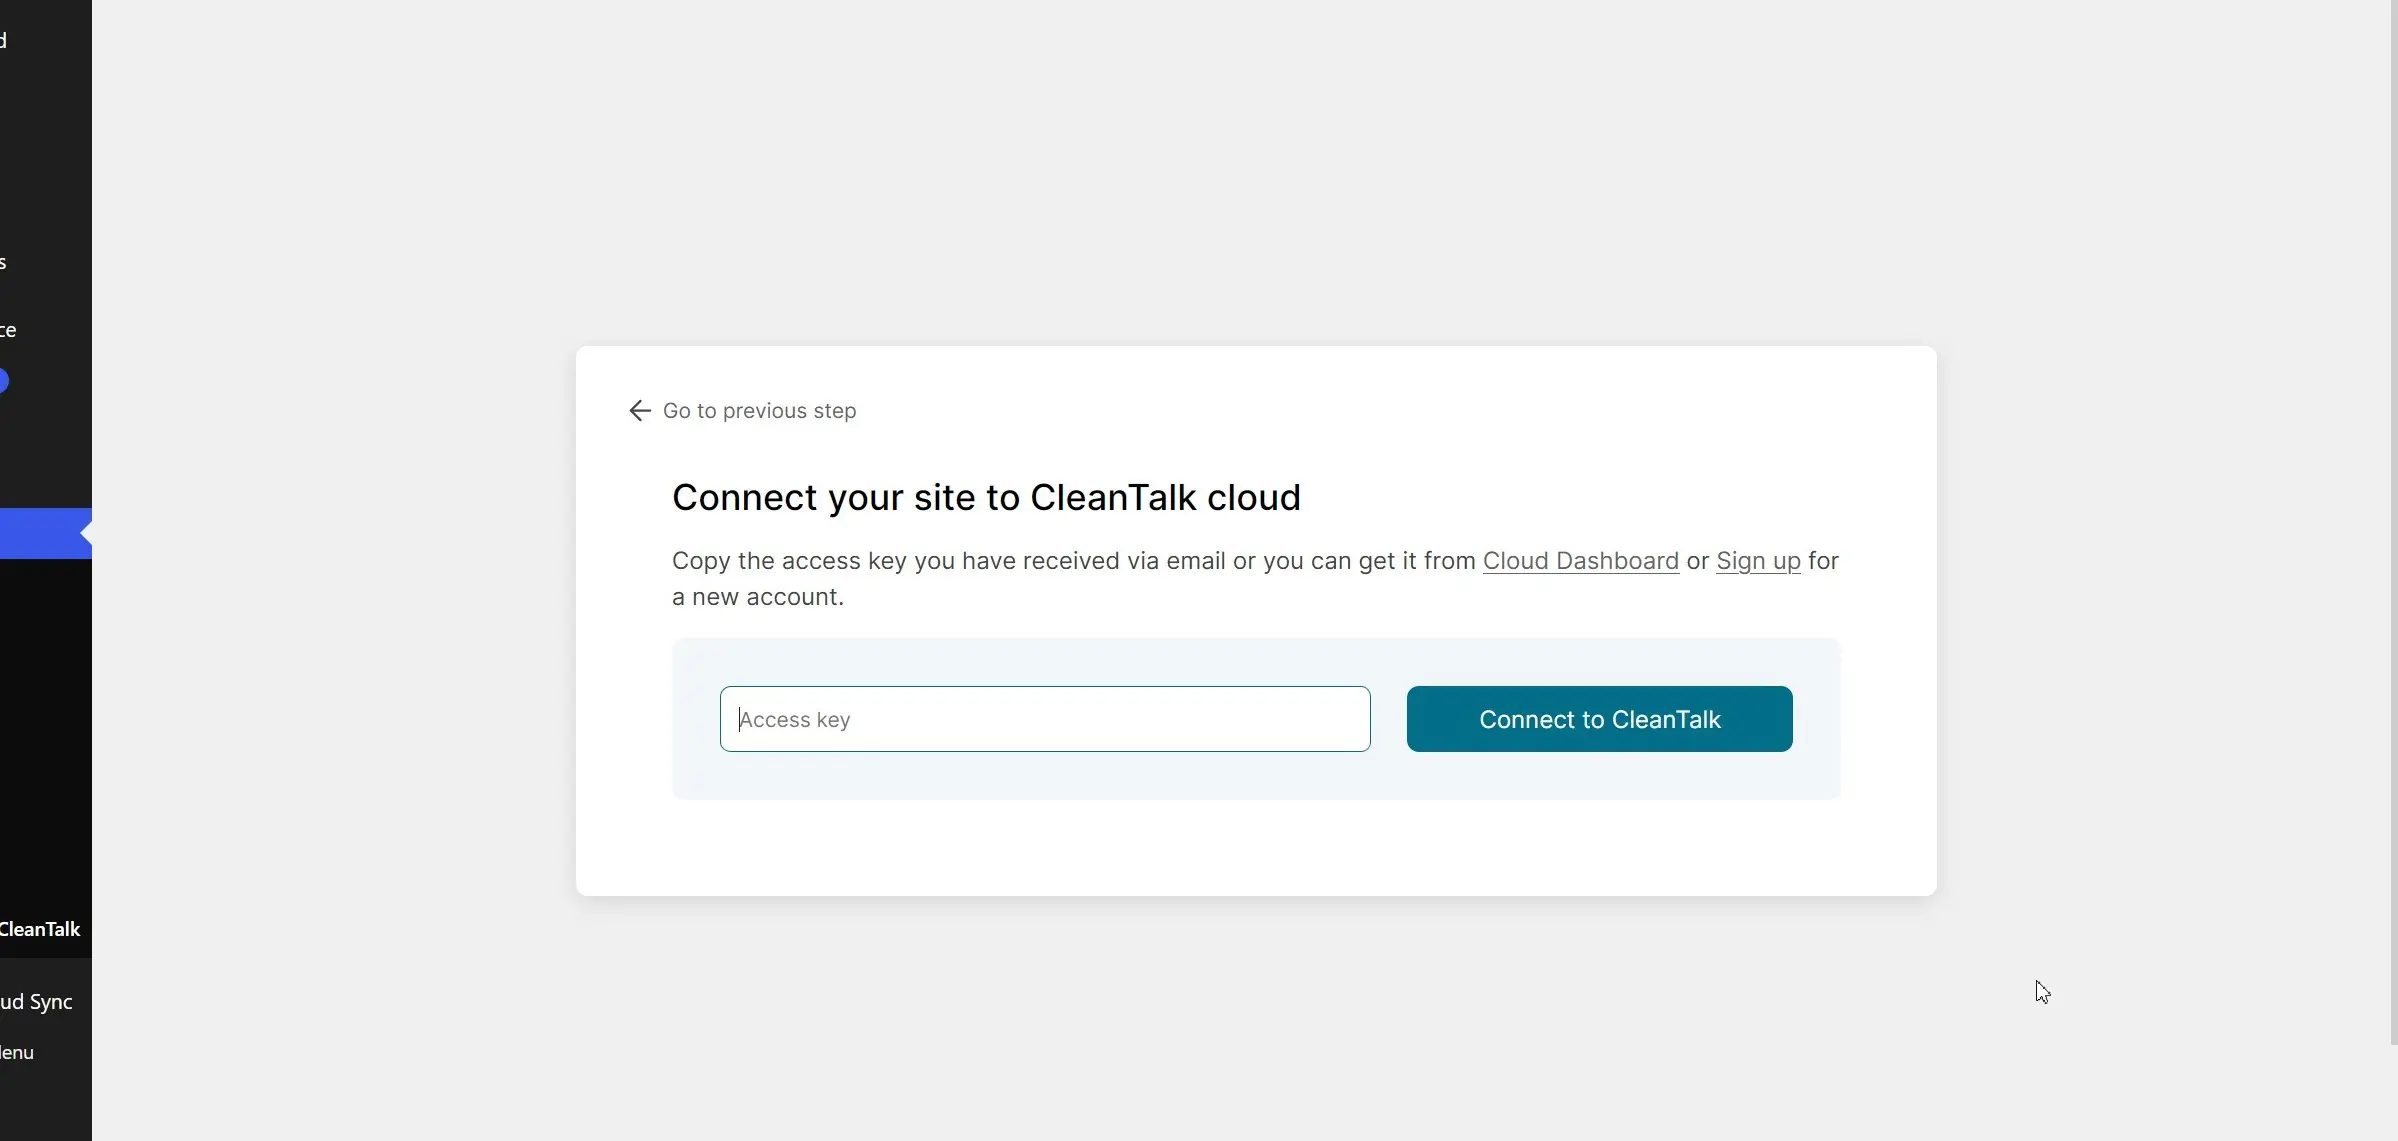
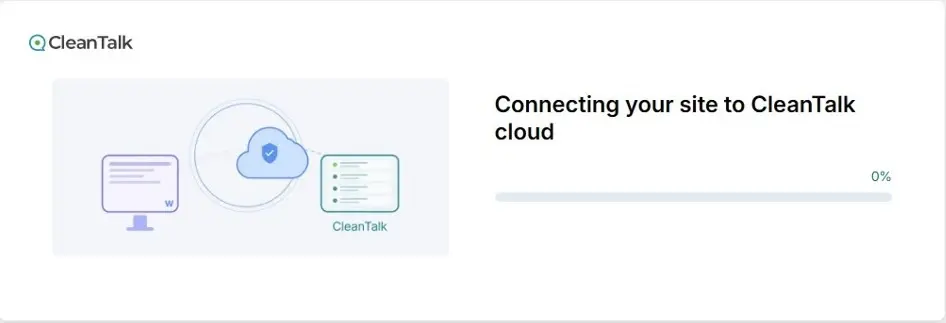
If the access key is correct, the connection to CleanTalk Cloud will begin.
- If you click "Skip setup wizard", you can always configure the plugin later by going to Settings → Anti-Spam by CleanTalk in your WordPress admin dashboard.

OR
In the "Plugins" section find the installed plugin "Anti-Spam by CleanTalk" and press the string "Settings" under its name.

OR
Hover your mouse pointer over the CleanTalk Panel on the top of the page and click the line "Settings".

Copy the access key from your CleanTalk Dashboard and paste it in the "Access key" field, turn on the options of the plugin and press the button "Save Changes".

Do a test registration or post a test comment using the blacklisted e-mail stop_email@example.com.
Do not perform any tests being logged in as an administrator.

To test if SpamFireWall is working just add /?sfw_test_ip=10.10.10.10 to your site name. Example,
www.yoursitename.domain/?sfw_test_ip=10.10.10.10
You must see the blocking screen.
Attention! You should test SFW with incognito mode switched on. To enable incognito mode press Ctrl+Shift+N for Chrome, Opera и Safari browsers; press Ctrl+Shift+P for Firefox, Internet Explorer and Microsoft Edge.
Congratulations. The Anti-Spam is installed!
Couldn't find what you were looking for? Contact our technical support team for assistance.
It would also be interesting
- Installation of the CleanTalk Anti-Spam Extension in OpenCart 3.xHow to Install the CleanTalk Anti-Spam Extension in OpenCart 3.x Note: For installation instructions...
- All Installation Manuals of CleanTalk Anti-Spam ServiceCleanTalk Anti-Spam Installation Guides Here you can find our plugin installation guides for popular...
- WordPress Malware Removal – Clean Your Site Fastp { font-size: 14pt; } /* Make images fluid by default */ img { max-width: 100%; height:...